MongoDB Compass: Using the Mongo GUI

MongoDB Compass is the official GUI for MongoDB, maintained by MongoDB itself. MongoDB Compass helps users make clever decisions about the data structure, querying, indexing, and many more actions you can perform on the database.
The primary objective of this article is to guide users who are new to MongoDB to perform database operations conveniently using MongoDB Compass.
(This article is part of our MongoDB Guide. Use the right-hand menu to navigate.)
MongoDB Compass is a GUI to explore, analyze, and interact with the content stored in a MongoDB database without knowing or using queries.
Compass a GUI alternative to the Mongo shell, which we’ve previously discussed. MongoDB Compass is an open-source tool. You can find its GitHub repository here.
MongoDB Compass is a much better alternative for the Mongo shell. Compass can carry out all the operations that Mongo Shell does and more, including:
You can enjoy the benefits of MongoDB’s powerful features by installing the full version of Compass. It’s free to use for everyone and will make working with MongoDB easier than any other tool.
Now, let’s install MongoDB Compass.
It’s important to note that MongoDB Compass comes in three editions:
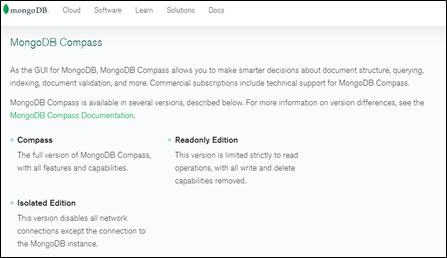 Most of the time, it’s the full edition that you need, so that’s what we’ll install in this tutorial. MongoDB supports all the main operating systems, such as:
Download the packages you want here. Once you download the relevant package, run the installer, and follow the steps that come after it.
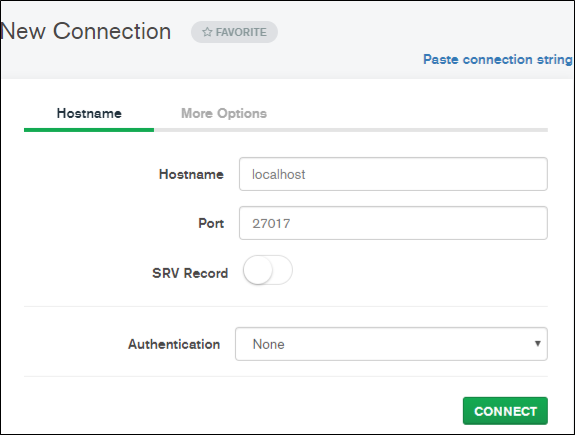
First, open your MongoDB Compass application and click the Fill in connection fields individually option. Specify the Hostname and the port in which your MongoDB server is running. If you installed MongoDB on your machine with default settings, the Hostname would be the localhost, and the port is 27017. Then click CONNECT.
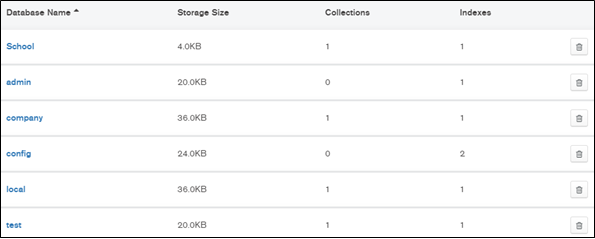
 Now, you are connected to your MongoDB server. You can see a list of databases available in the server and a set of options that you can use to create and delete databases:
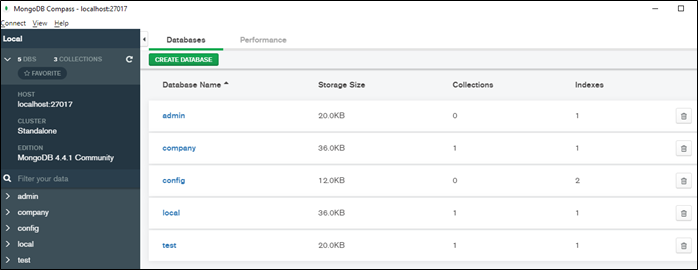
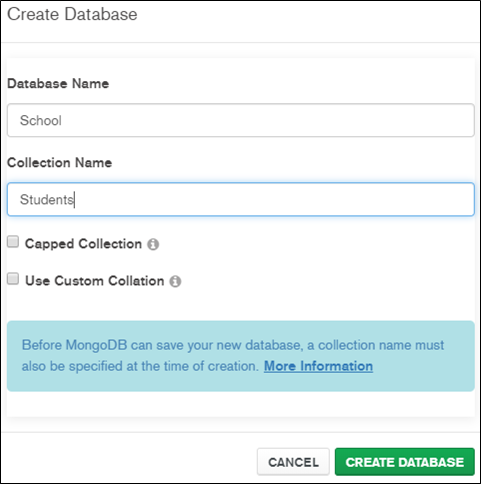
Click the CREATE DATABASE option to create a new database. A new window will pop up, as shown below:
 The newly created database will appear in the dashboard, as shown below.
 (Want to use the mongo shell instead of the Compass GUI? Learn how to create a database that way.)
In MongoDB, data is inserted as documents. Each record in a MongoDB database is a document. Let’s see how to add documents to our newly created database.
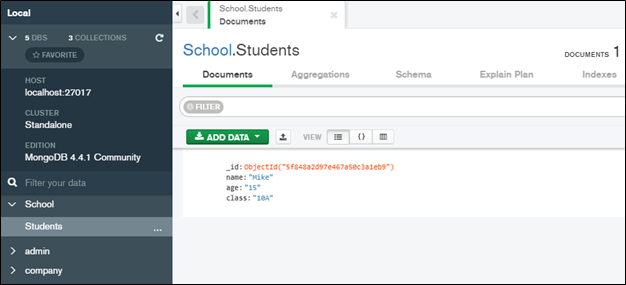
Locate the cursor on the School database from the left side pane of Compass and click on it. A screen will be displayed as below:
 Next, click on the collection name, Students, which you created earlier, and Compass will display a new screen, like this:
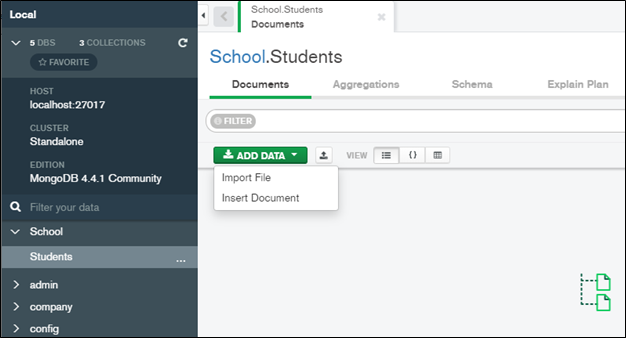 Here you can find the Add Data drop-down that provides you two ways to insert data:
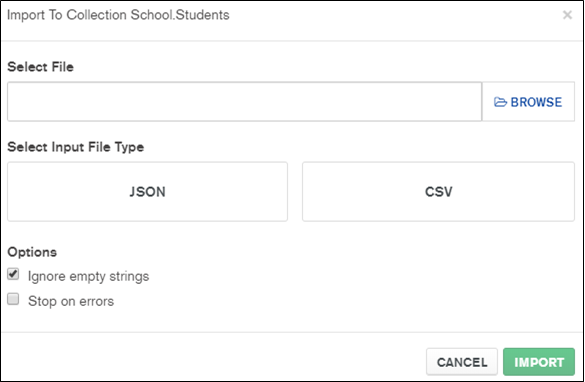
The first option allows you to import data as a JSON or CSV file. When you click it, a new window will open in which you can upload the file. Browse and upload the file there, then tick the relevant file type and click import.
 In order to add data manually, click on the second option of the Add Data dropdown. A Helper window will pop up to insert documents. You can add values as JSON or key-value pairs in this Helper window.
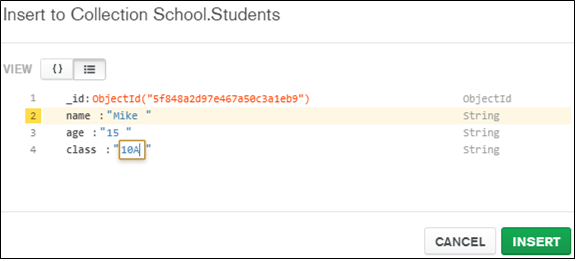 Finally, click the Insert button.
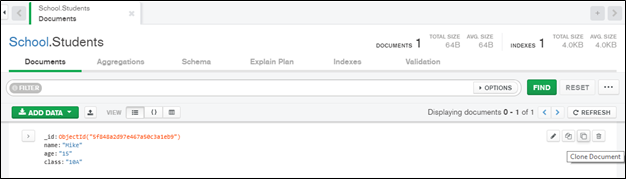
Although you can insert more documents in the same way as we just discussed, we can speed it up with the Clone operation.
Hover over the newly created data in the Compass UI and click the Clone Document button. This option will copy the data into a new Insert Document window. From there, you just have to type the next row of data, and there’s no need to specify the field names or data types again.
 Likewise, you can keep on adding any amount of data to the collection, and those data will show up on the Compass UI.

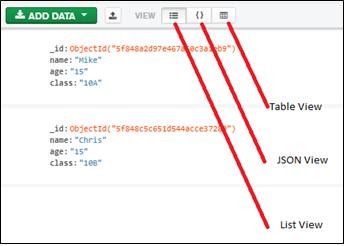
Compass lets you view your data in three modes. The modes are as follows:
You can change the view by clicking the buttons next to the view option, as shown here:
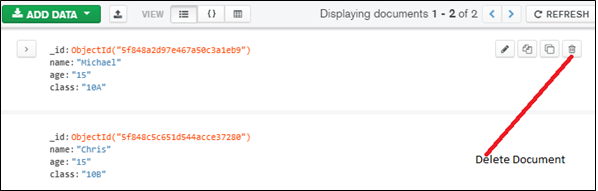
Updating documents through Compass is straightforward. Hover over the document you want to update in the Compass and click on the pencil icon, which appears on the right-hand side.
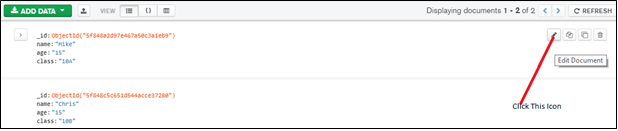 Click on the field you need to update, then update as required, and click the Update button.

Deleting data is another simple task that Compass can do with just two clicks:
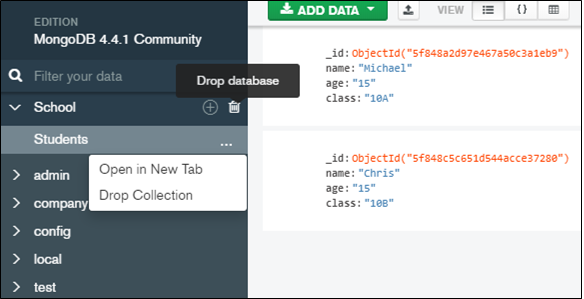
Dropping collections and databases are as straightforward as other operations. You can find all your databases and collections appearing on the left menu of Compass. There you can find options to drop collections and databases. The image below shows both options.
 That concludes this tutorial.
For more tutorials like this, explore these resources: