How To Create Your First Flutter App

Flutter has quickly entered the app development world. Launched by Google in October 2018, Flutter now has a reported 500,000+ users a month. It’s good for quick app development, prototyping new features, A/B testing new features, or even building an all-out application.
Flutter is a cross-platform development tool that lets a dev write one body of code and deploy on the web, iOS, and android. Desktop development has also recently been added, with a Flutter for Desktop Alpha release.
Getting started is easy, especially with some extra tips and tricks.
The Flutter install guide is very helpful, with detailed instructions on how to get Flutter installed on each OS:
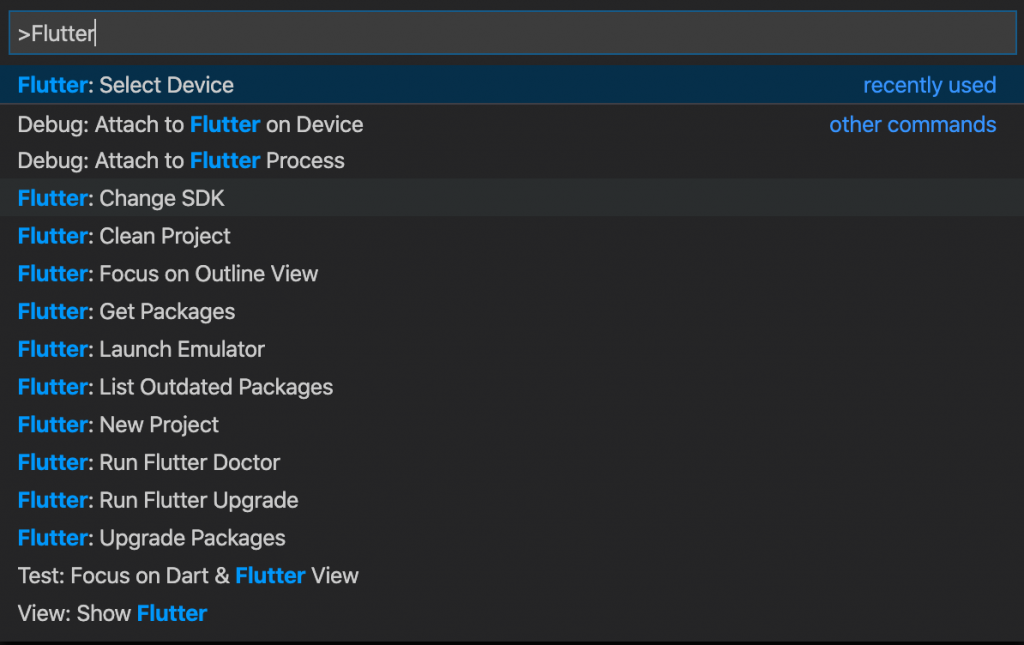
VS Code is a great IDE for any programming language and Flutter is no exception. Specifically, the Flutter extension to VS Code gives a batch of flutter commands that can be run from VS Code. Normally, they’re run from the command line.
Flutter has some great extensions on the VS Code marketplace that speed up some of the development process. A few notable extensions are:
The last one is added for fun. It helps see through the enormous amount of parenthesis and brackets created by nesting widget inside of widget.
I tend to use the Flutter: Select Device for switching between debugging the app on iOS, Android, and Web.
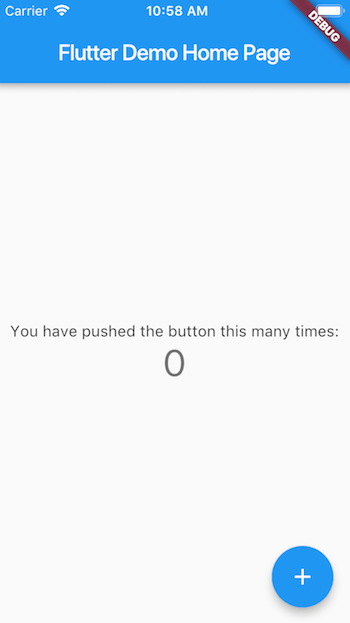
After installation, Flutter has a custom Hello World app that is easy to set up. Any new project created begins with this starter app.
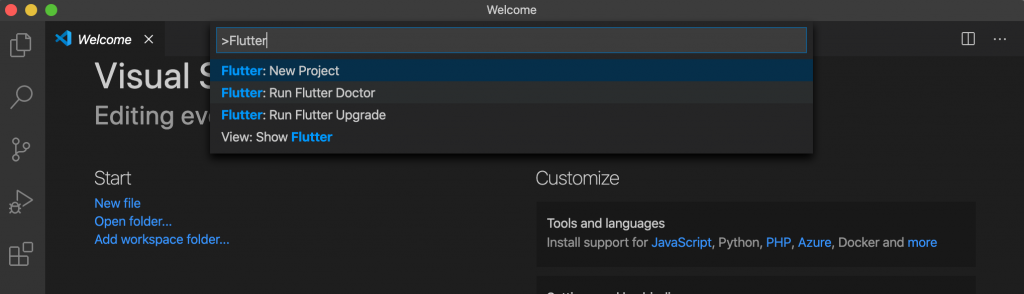
In VS Code, creating a new application is easy. Access the menu with Command + Shift + P. Select Flutter: New Project.
 In the terminal, you can do this:
flutter create myapp
cd myapp
flutter devices
flutter run
Both options will generate a Flutter project for you to begin.
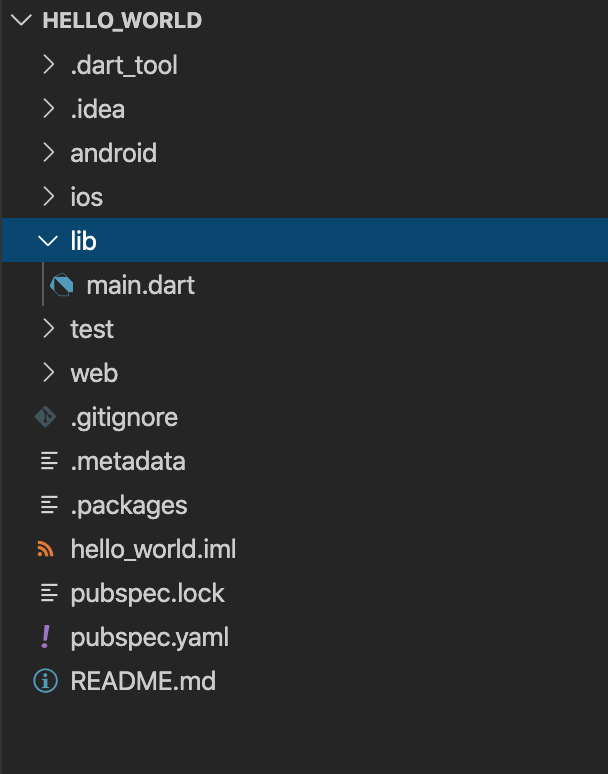
 Inside the created project, are the following directories.
Packages for Flutter can be found on https://pub.dev/. Common packages you’ll likely use:
VS Code and Android Studio both offer helpful shortcuts that speed up your Flutter development.
The lightbulb icon will appear while you’re developing, and it makes adding or removing widgets so much easier. It might not look like a lot now, but this tool is a huge timesaver, keeping you from having to copy and paste bodies of code.
When you put the cursor on a widget, the yellow lightbulb appears to the left. Click it and the pop-up window appears. Its options will add common widgets to the selected widget or remove or extract the present widget.
![]()
Code is automatically written with the lightbulb, and the VS Code IDE also does some key input detection.
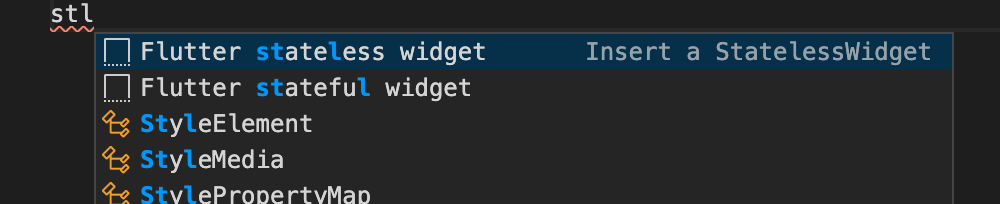
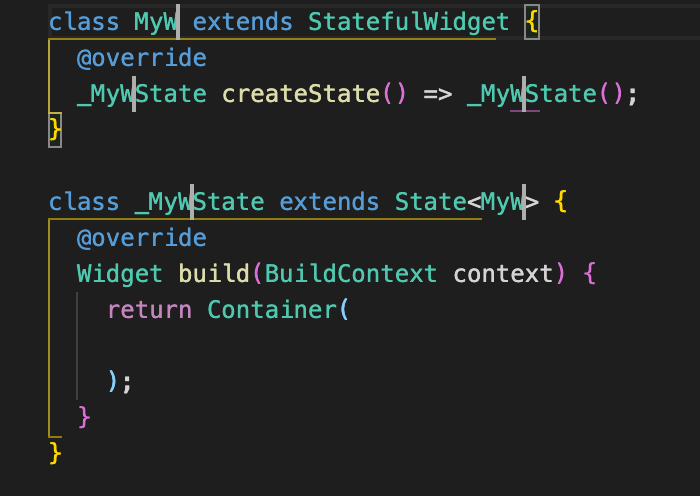
Type stf or stl in the ide to auto-import all the code necessary to write a stateful or stateless widget. When the shortcut is selected, all the code appears with 5 cursors to name your new widget.
Another helpful hotkey is: alt + shift + f. This shortcut automatically formats the code to the Flutter standard. It only works if there are no errors found in the code.
The hotkey will turn a batch of code like this:
 And turn it into this:

For more articles like this, explore these resources: